How to Fix Water Damage the Right Way: Find the Leak, Stop It, Dry It, Then Repair
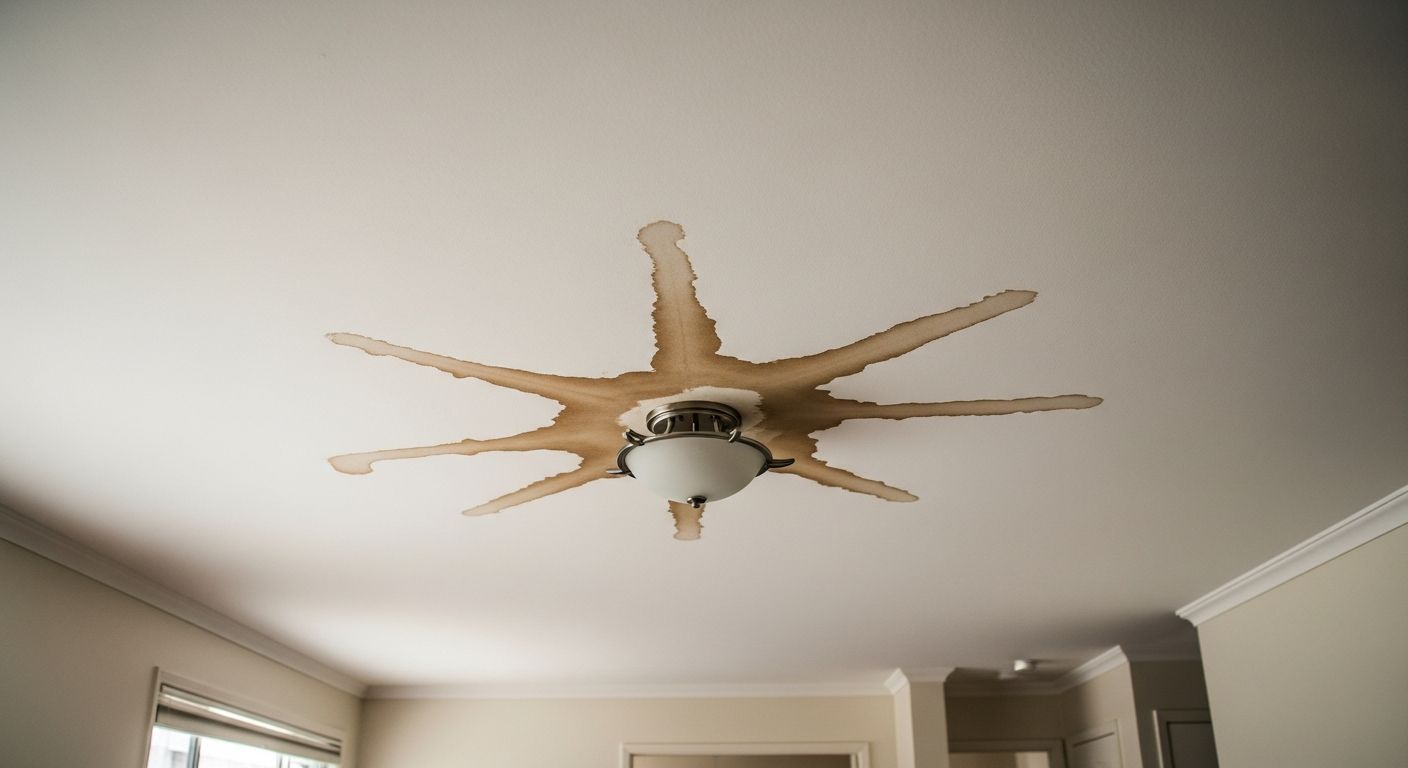
A brown ring on the ceiling. A bubble in the paint. A baseboard that feels soft, or a smell that will not go away. The first instinct is almost always the same: patch it, paint it, move on. I understand the urge, but I have to be straight with you. Repairing what you can see, while the water that caused it is still finding its way in, is the most expensive shortcut in home repair. The damage comes back, and it usually comes back worse.
The good news is that doing it right is not complicated. It is an order of operations, and the order is the whole point. Find the source. Stop it. Dry the area completely. Then, and only then, repair. Skip a step and you are paying to fix the same spot twice.
The short answer
Fix water damage in four steps, in this exact order: find the source, stop the source, dry the area completely, then repair the damage. The visible damage is the last thing you touch, not the first. Everything below is the detail behind those four steps and the mistakes that happen when they get done out of order.
Why repairing the damage first almost always fails
Water damage is a symptom. The stain, the swelling, the peeling paint, those are the end of a trail, not the start of one. If you repair the symptom and leave the source running, you have changed nothing about why the water got there. The next rain, the next shower, the next cycle of the sprinklers, and it returns.
There is a second problem with rushing. Sealing a wet cavity behind fresh drywall or paint traps moisture exactly where you cannot see it. Trapped moisture in a dark, still space is how a small water problem quietly becomes a bigger one over weeks. That is the real reason the order matters, and it is why the pros treat drying as its own step rather than something that happens on its own.
Step 1: Find where the water is really coming from
This is the step people most want to skip, and the one that decides everything. Water rarely enters where it appears. It runs along the top of a ceiling, down the face of a stud, across a sill, and shows itself at the lowest or weakest point it can reach. The wet spot is the exit. Your job is to find the entry.
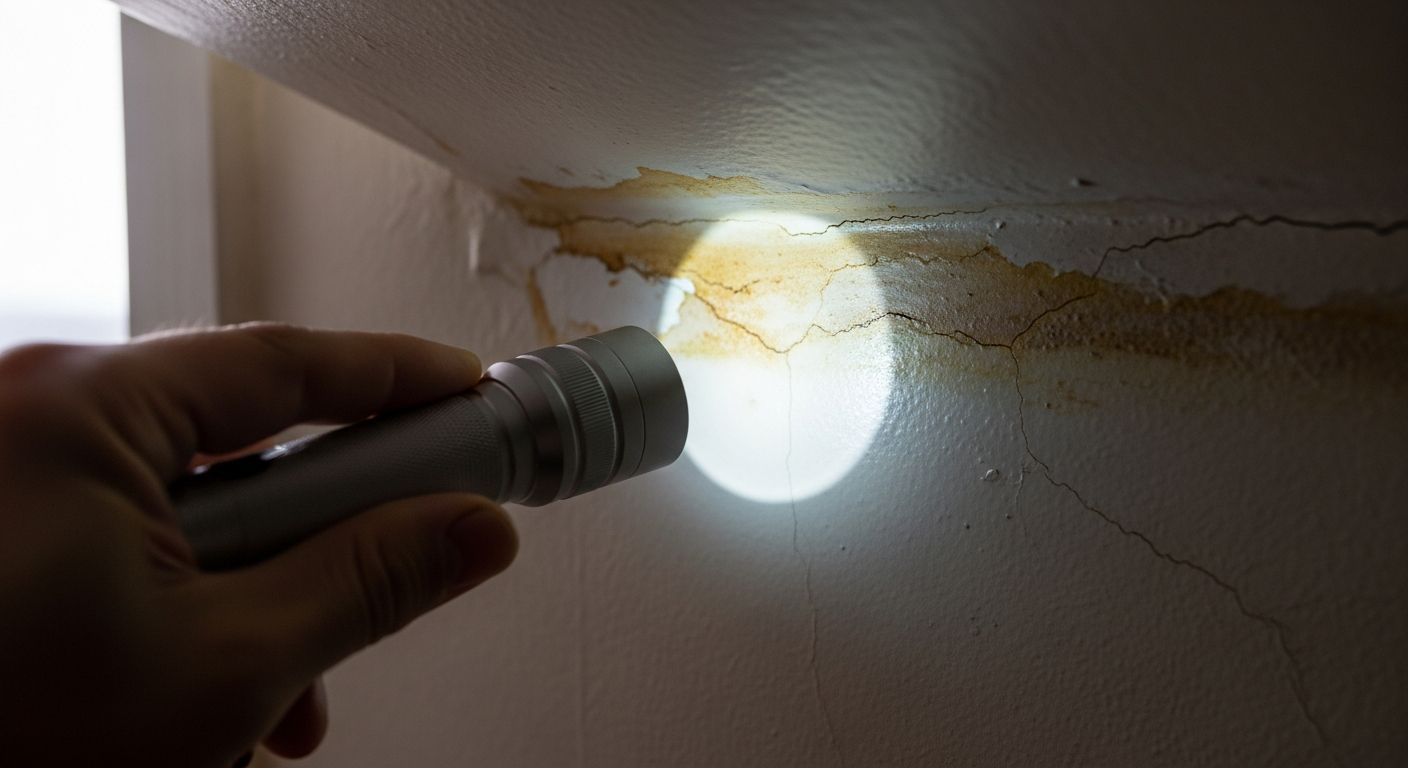
Work through the usual suspects, roughly from the top down:
- The roof and its flashing. A stain on a top-floor ceiling often traces back to the roof, and just as often to the flashing around a vent, chimney or valley rather than the field of the roof itself. Our roofing work starts here more often than not.
- Windows and doors. Water gets in around the edges, past failed sealant or flashing, and shows up on the wall below. A stain under a window is a classic.
- Plumbing. Supply lines, drains and the connections behind a bathroom wall. A slow supply leak drips steadily; a drain leak often only shows when that fixture is used.
- Outside the house. Grading that slopes toward the foundation, or irrigation spraying against a wall, pushes water into the structure from below and outside. This one gets missed constantly.
A useful tell: if the damage tracks with rain, look at the roof, the windows and the grading. If it tracks with using a specific fixture, look at plumbing. If it never stops, you likely have a supply leak under pressure, and that one deserves urgency.
Step 2: Stop the source
Once you know where the water is coming from, stop it before you think about the damaged surfaces at all. What "stop it" means depends on the source: repair or replace the failed roof flashing, re-flash and re-seal the window correctly, fix or reroute the failing pipe, correct the grading, or move the sprinkler head that has been soaking the stucco for a year.
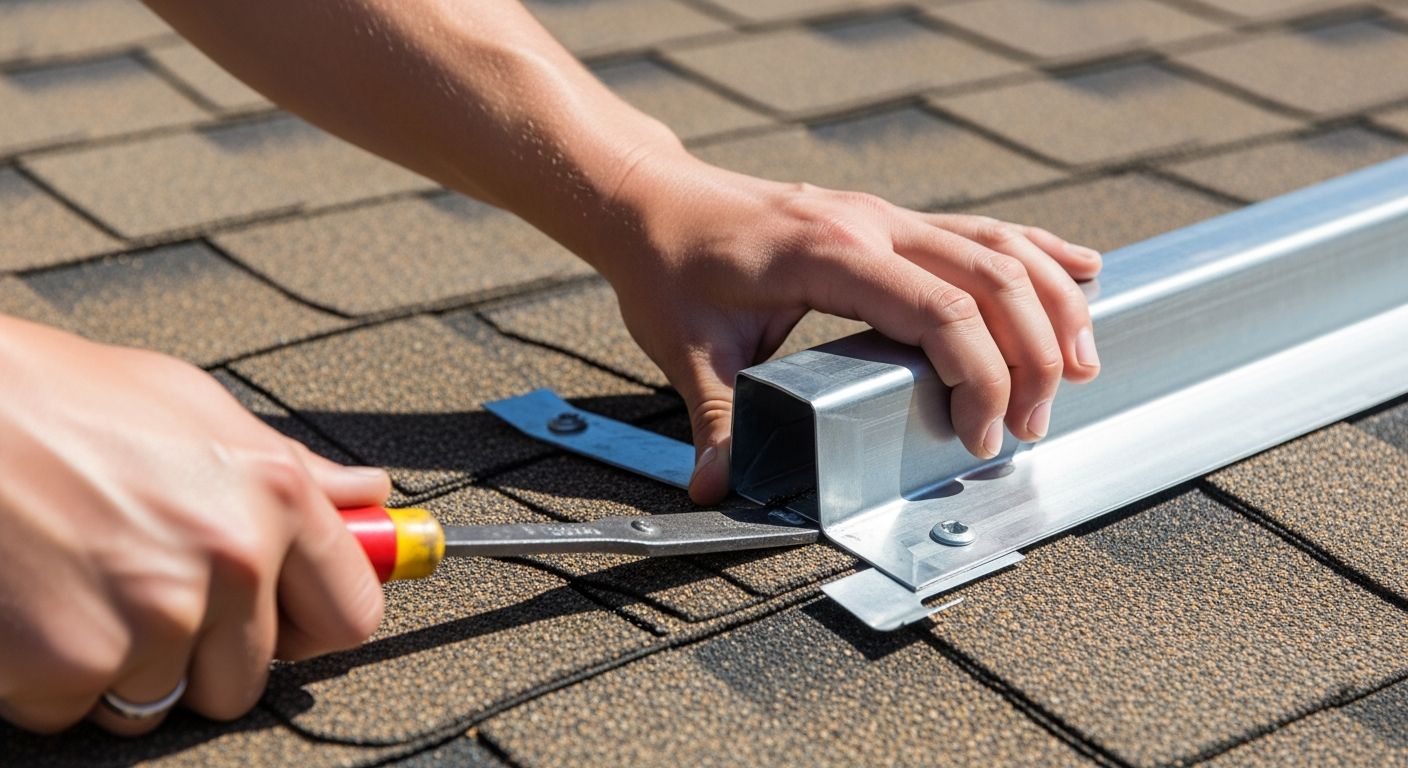
One honest warning here, because it is the single most common half-fix I see: a bead of caulk is not a repair for a failed building envelope. Caulk has its place, but running a line of sealant over a flashing problem or a roof problem hides it for a few weeks and then fails again, usually somewhere you were not watching. If the water is getting past flashing, the flashing is what has to be corrected.
What I see in the field: a homeowner has repainted the same ceiling patch two or three times over a couple of years, each time thinking they finally beat it. When we open it up, the flashing on a roof penetration has been failing the whole time. Every one of those paint jobs was money spent on the symptom while the cause kept working. Find it once, fix it once.
Step 3: Dry the area completely before you close anything up
With the source stopped, the wet materials have to dry, and this is a real step with a real finish line, not a day on the calendar. Framing, insulation and the back of drywall can hold moisture long after a surface looks and feels dry to the hand. Close the wall too early and you seal that moisture in.
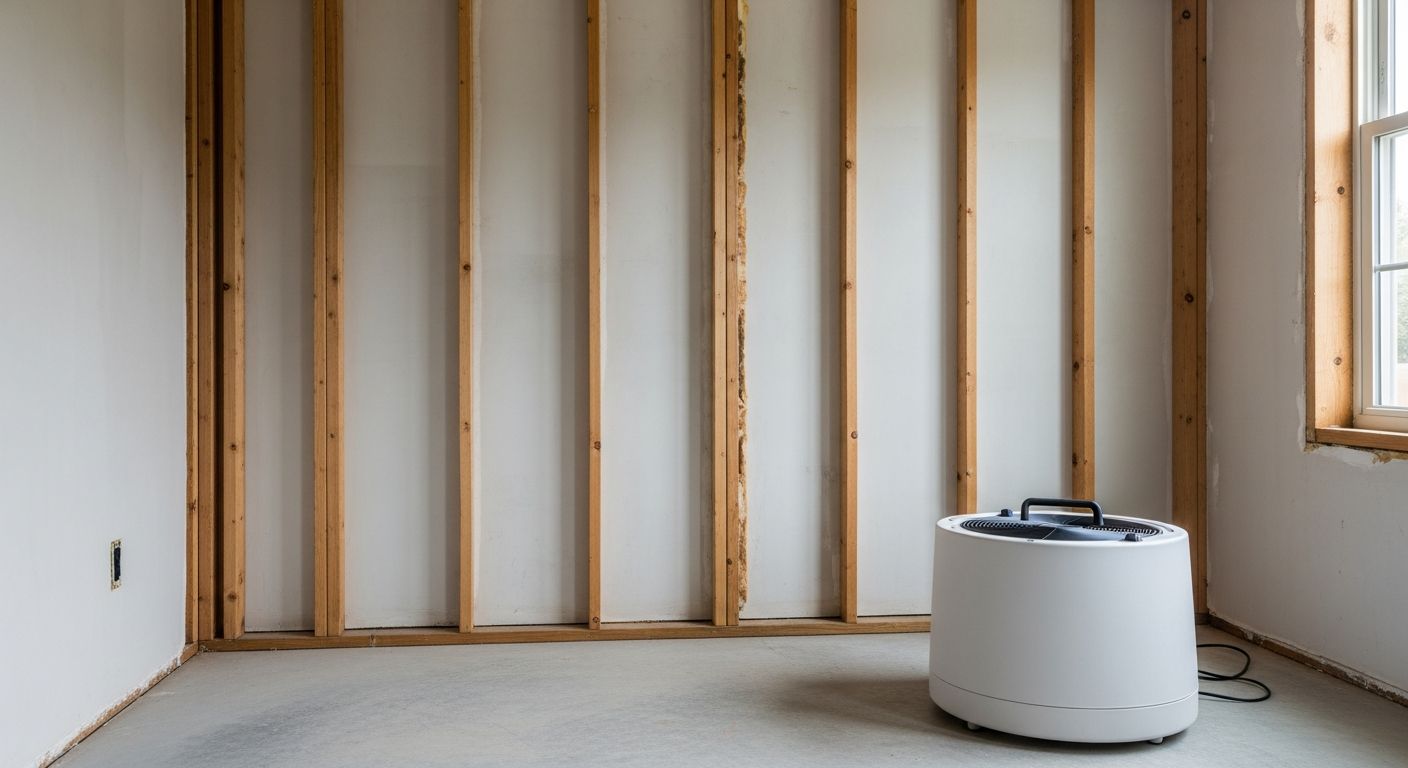
Proper drying usually means opening the affected area enough to reach the wet cavity, removing materials that cannot be saved, and using air movement and dehumidification to pull the moisture out. The part that matters most: professionals confirm the materials are actually dry with a moisture meter before rebuilding. That is the difference between drying something and hoping it dried.
This is also the only place mold genuinely belongs in this conversation. If materials stay wet in a closed cavity long enough, the conditions for a mold problem are exactly what you have created, which is another reason not to rush a wall shut. Under California habitability law, significant mold can render a dwelling substandard, so this is not only a comfort issue. If you already see or smell substantial mold, that is a point to bring in a professional rather than press on, and I will come back to that below.
Step 4: Repair the damage
Now, and genuinely only now, you rebuild. With the source stopped and the cavity confirmed dry, repairing the damage is the straightforward part: replace the drywall or framing that was removed, prime and seal the stained areas so nothing bleeds through, then paint or finish. Because you fixed the cause first, this repair is the last one that spot should ever need.
One tip that saves a callback: use a proper stain-blocking primer on old water stains before your finish coat. Water stains will ghost through ordinary paint even after everything is dry. That is a cosmetic issue, not a moisture one, but it is worth doing right the first time. A home remodeling project is also a natural moment to correct the underlying cause properly rather than patch around it.
The four steps, in order
- Find the source. Start above and uphill. The stain is the exit, not the entry.
- Stop the source. Fix the actual failure. Caulk is not a substitute for flashing.
- Dry the area. Confirm dry with a meter, not by eye, before closing anything.
- Repair the damage. Rebuild, seal the stain, finish. Last step, not first.
Do them in this order and you fix the spot once. Do them out of order and you fix it again next season.
When to call a professional
Handle a small, obvious, one-time drip yourself if you are comfortable and the source is clearly a minor fixable thing. Bring in a professional when the moisture keeps spreading, when you cannot find the source, when the water is under pressure, when structural framing is involved, or when a stain keeps returning after you thought you had fixed it. A recurring stain is the house telling you the real source is still open.
Also bring in a professional if you find substantial mold or a persistent musty smell after drying, rather than sealing over it. And whoever you hire for the repair, check the licence yourself. It takes about two minutes through the CSLB licence check: confirm the licence is active, that the classification covers the work, and that the name on the licence matches the name on the proposal.
Common questions
Can I just paint over a water stain?
Not until the water is stopped and the area is dry. A stain is a symptom, not the problem. If the source is still active, the stain comes back through fresh paint, and you have spent money hiding the very thing you needed to see.
How do I find where a leak is coming from?
Start above and uphill of the damage, because water travels down and sideways before it shows. Check the roof and flashing, window and door edges, plumbing lines, and outside grading and irrigation. The wet spot you see is usually the exit point, not the entry point.
How long should I dry the area before repairing?
Until the materials are actually dry, not until they look dry. Framing and drywall can hold moisture you cannot see. Professionals confirm dryness with a moisture meter rather than by eye or by calendar, and only close the wall back up once the readings are down.
Do I need a permit to repair water damage?
It depends on the work. Cosmetic patching usually does not, but replacing structural framing, rerouting plumbing, or larger alterations can. In Los Angeles the requirement depends on your property address and the scope, so confirm with the department that has authority over your property before assuming. The Los Angeles Department of Building and Safety states that building permits are required for new construction, additions, alterations and demolition.
If water is coming in right now
Everything above is how to fix water damage in the right order. If you are in the middle of it this minute, with water actively coming in, I put together the First 24 Hours Water Damage Action Plan for exactly that moment. It walks you through it calmly and in order: make it safe, stop or slow the water, limit the damage, and document it so your insurance claim holds up, before anyone arrives.
Get the First 24 Hours Action Plan
It is free and I will ask for your email address so I can send it to you. Nobody will call you, and there is no sales follow-up.