
Preparing Walls and Trim Before Paint
Interior paint lives or dies on the prep work that happens before the first coat. New paint over patched-but-not-sanded drywall, dirty trim, or unprimed surfaces almost always shows through within the first year.
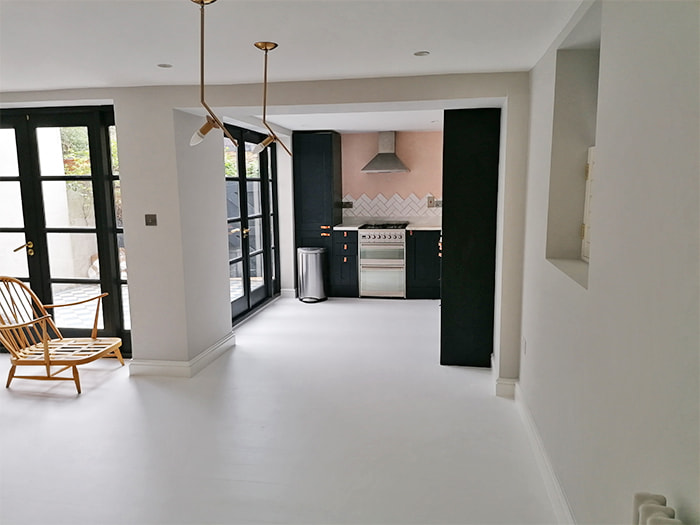
Walking the rooms ahead of time and listing the prep work room by room makes the project predictable and keeps the finished walls looking the way they are supposed to.
- Patching nail holes, dings, and minor drywall damage
- Sanding patched areas, glossy trim, and any rough texture
- Cleaning surfaces of dust, grease, and residue from past work
- Priming bare drywall, stained spots, and surfaces with color changes
Selecting Color and Finish
Color choice is the part most homeowners enjoy. Finish — flat, eggshell, satin, semi-gloss, gloss — matters just as much, because it decides how the paint reads in real light and how easy it is to clean later.
Looking at color samples on the actual walls, in the actual light, before locking anything in saves a lot of second-guessing once the rooms are painted.
- Flat or matte for ceilings and low-traffic walls
- Eggshell or satin for living rooms, bedrooms, and most main walls
- Semi-gloss or gloss for trim, doors, and high-touch surfaces
- Sample swatches viewed in morning, afternoon, and evening light

Hiring a Painting Contractor
Interior painting looks straightforward, but a smooth, even finish across full rooms takes practiced hands, the right tools, and proper protection of floors, fixtures, and furniture.
Verifying credentials and walking the home with the contractor before signing helps homeowners understand what is included and what is not.
- Active CSLB license verified on the state board website
- General liability and workers' compensation coverage in force
- A written scope listing prep, primer, brand of paint, and number of coats
- Floor and furniture protection and a clear cleanup plan